PROFESSIONAL HOCKEY LINERS FOR YOUR HOME ICE RINK
TRAINING VIDEOS BY COACH DAVID BASTIEN INCLUDED WITH ALL LINERS
Installation guide

1.
Try to find a surface that is as flat as possible without too much drop that can accommodate your future ice rink.
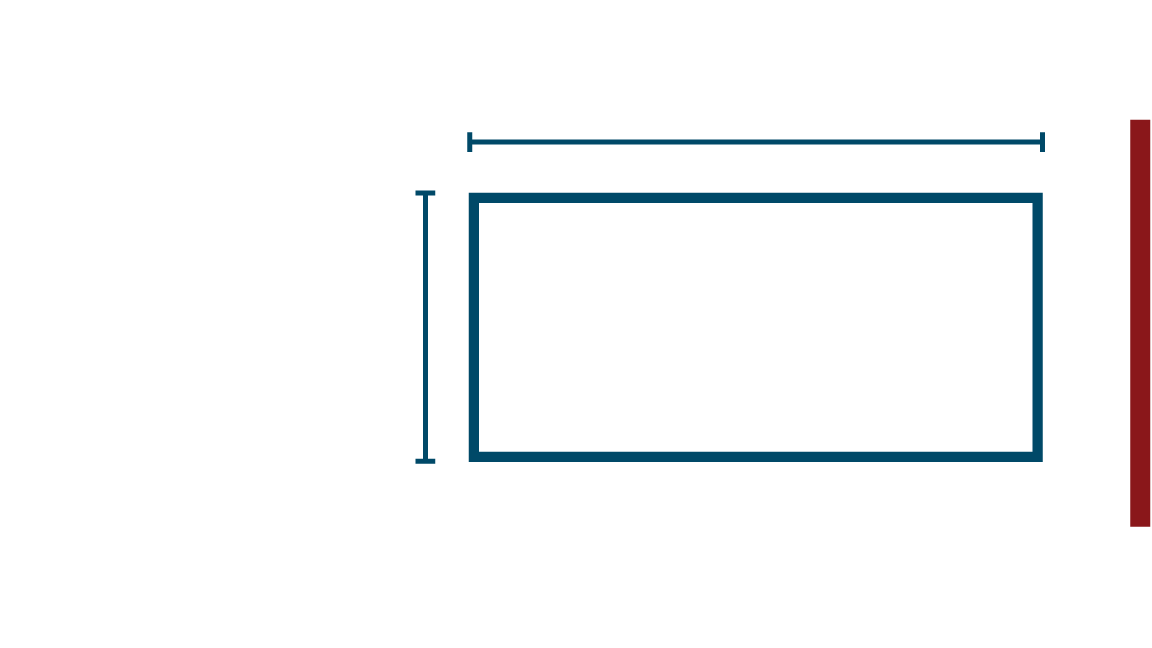
2.
Build your square of wood or your band system to the dimension of the liner visual.
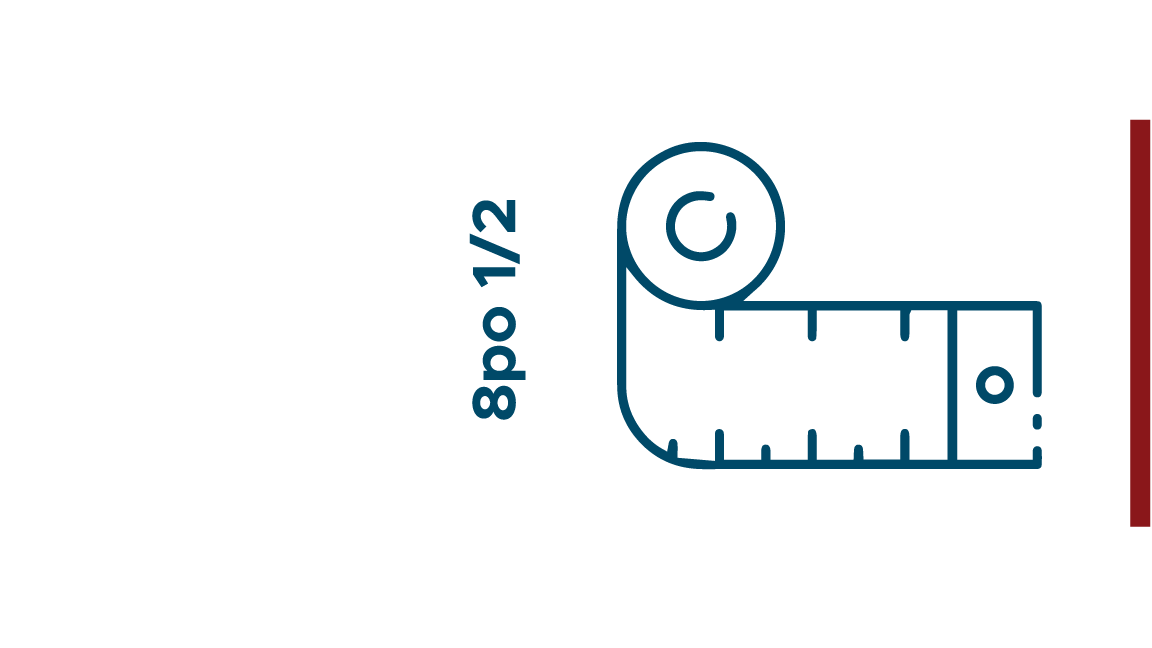
3.
If the strip is made of wood, we recommend that you use 2x10 pieces to have a minimum of 8.5 inches high.

4.
Spread the liner inside this square of wood and stretch it as much as possible to make sure that the first guide line of the outline of the printed visual is at the junction of the ground and your strips.
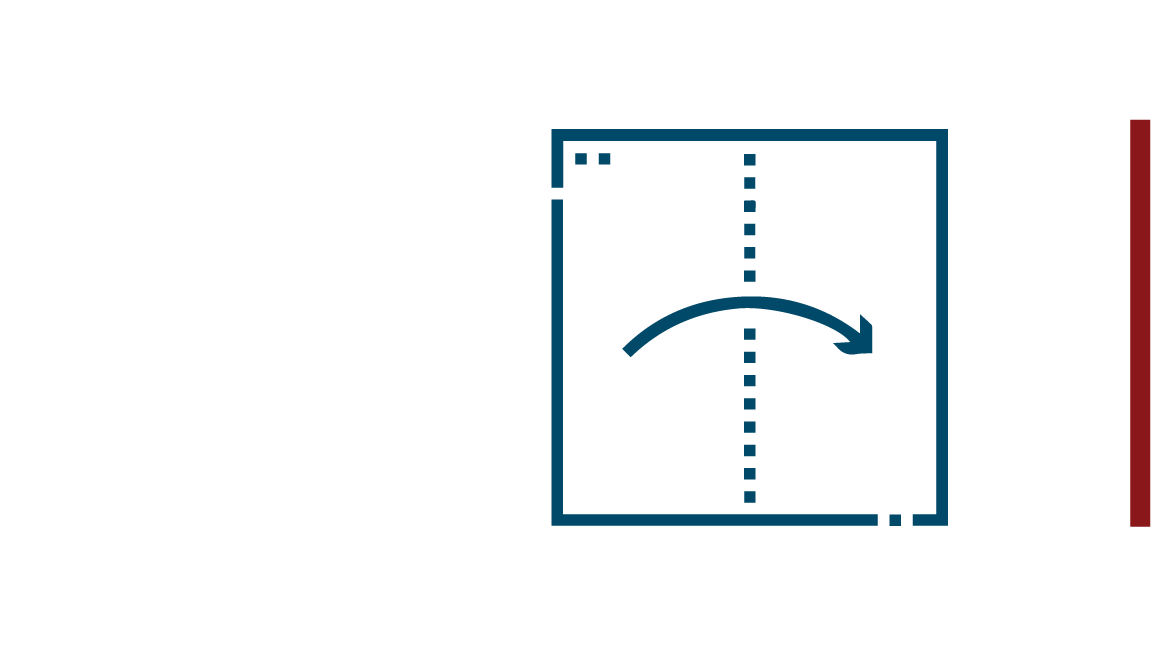
5.
Fold the extra liner material over your bands.

6.
Secure the liner all around the outside of your bands.

7.
Fill with water up to the green guide line (taking into account that your terrain is flat, this green line indicates that you have a minimum of 3 inches of ice thickness.
WARNING
When filling, make sure that there are no air bubbles forming below your liner. If this is the case, we strongly suggest that you remove it by pushing the air with a roller or the like out of your square of wood before the water freezes.
You could also like:
-
20'x40' Super Mario
Usual price Starting at $675.00 CADUsual priceUnit price through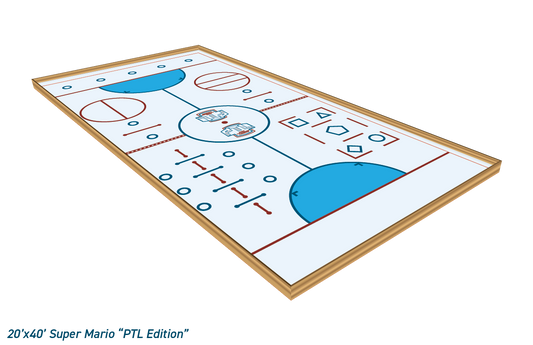
-
30'x60' Gros Bill
Usual price Starting at $1,195.00 CADUsual priceUnit price through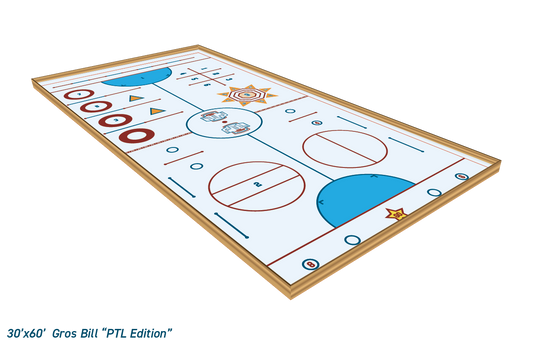
-
25'x50' Houdini
Usual price Starting at $895.00 CADUsual priceUnit price through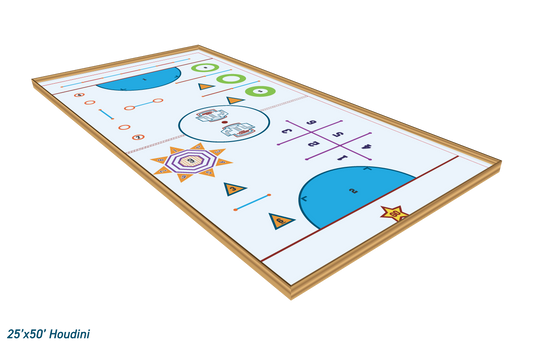
-
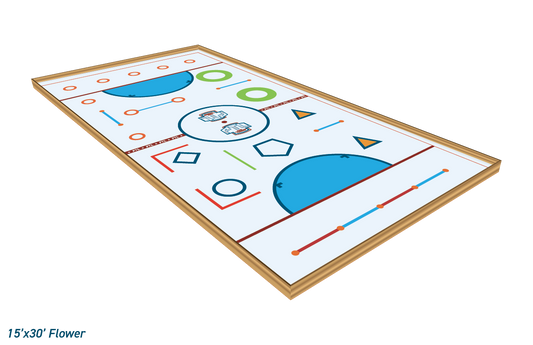
15'x30' Flower
Usual price Starting at $495.00 CADUsual priceUnit price through